Most searched for brands of measuring and regulation technology
Please read the operating and assembly instructions included in the package. Installation is fairly easy and in a few steps it can be done by the user with basic technical skills. If you are unsure, leave the installation and connection to an electrician or a company.
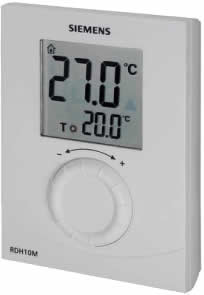
First, according to the instructions, you need to pick a suitable place and height for your thermostat, if the cables for switching the heating allow it. The thermostat has two parts, the cover with the screen and electronics is the first and the second is the board with the terminal block. Prior to mounting, make sure that the power supply to the wires with which you come into contact is switched off, otherwise there is a risk of electric shock. Carefully separate the mother board from the cover with a screwdriver and mount it to the wall. Under the cover you will find a terminal block to which, according to the wiring instructions, connect the switched wires of the heater or other devices intended for switching by the thermostat. Fix them and close the cover. Then connect the power supply and insert the batteries into the thermostat. Now wait for the initialization to complete, depending on the type of thermostat it takes 1 to 15 minutes. Once you see the main screen according to the instructions, you can set and use the thermostat.

 Bola.cz


